Monday, 20 February 2012

Progress Report

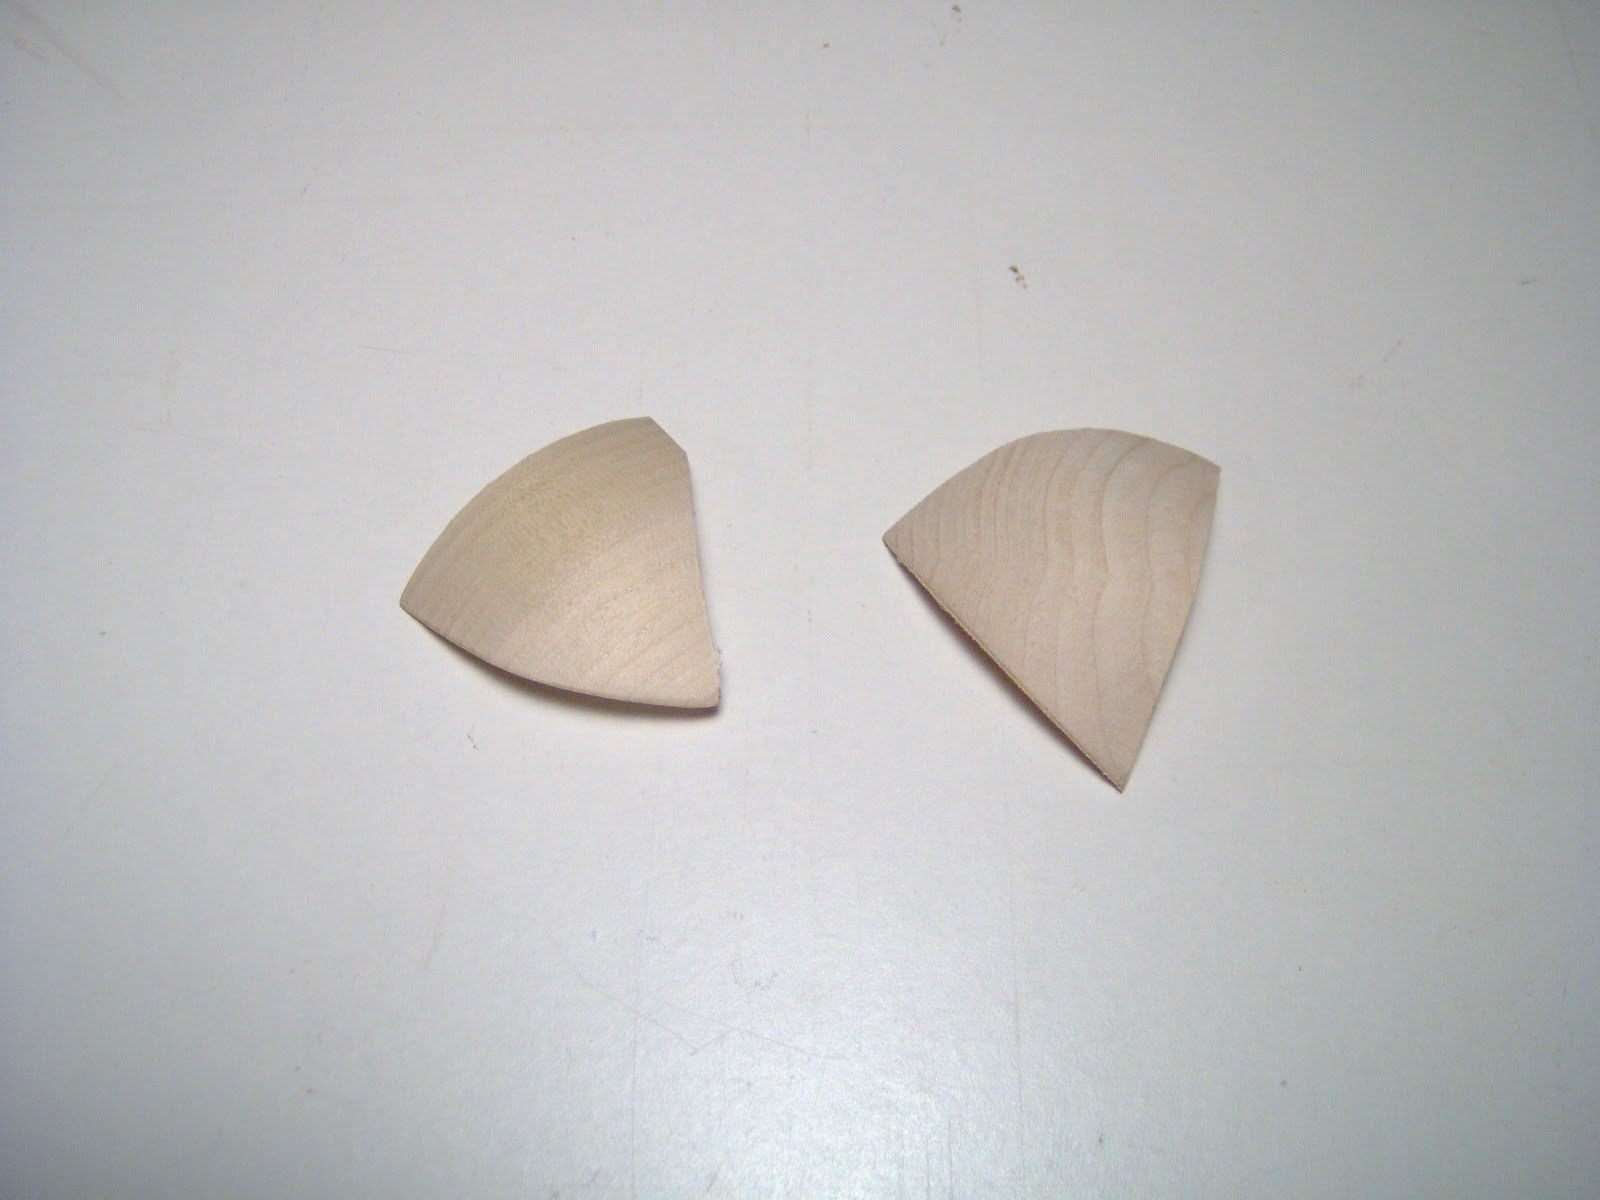
Ok, so I didn't get my 2 x 4 challenge project done in time for the Feb. 16th meeting, and I'm beginning to wonder if I'm even going to get it done this month.  I have been working on it though, as time allows.  Here are a couple of pictures to show you, without giving too much away, what has been done:


Actually I've made good progress since these pictures were taken.  I've commited this piece to a show in March and I'm pretty comfortable that it will be done in time for that.  There is a lot to do yet though and most of it is the details, where the Devil awaits.

Saturday, 4 February 2012

Challenge Accepted

For the second year in a row the Saskatchewan Woodworkers Guild, of which I am a member, has issued a challenge to its members known as the two by four challenge.  The criteria is simple.  You can build whatever you want, as long as you build it from a standard 2" x 4" by 8' spruce board.  The idea is to take something that is not normally associated with fine woodworking and do some fine woodworking.  I didn't take part last year, but this year I'm going to use it to do a test run for an idea that I have been kicking around for a few years.

Before I can actually start the piece itself however I need to make a form that I can use to do some bending.  The form is going to be a cylinder 30" tall and 8" in diameter.  I originally thought of using a cardboard form for making concrete footings, but the ones I could find were too flimsy and were out of round.  Instead, I decided to make my own out of wood.

The form is made out of the same spruce two by fours that my project will be made from.  after cutting the boards to length, I sliced them in half by running them through the table saw.  Then I used a bird's mouth bit in my router table to cut a notch along one edge of each board.  Here is a couple of shots of the setup.


Here is how the boards go together;


And this is the complete glue up.


There is a piece of plywood at both ends so I can put it in the lathe and turn it round.  Here's the problem.  It's too big to fit.

I didn't actually know that when I built it.  My lathe is an old craftsman that has a 36" bed and  12" swing.  The form is 30" long and about 8 1/2" in diameter.  This sounds like it should go on with no problem, doesn't it?

The reality is that with the tool rest on my lathe struggles to clear bowl blanks that are much larger than 8".  I had never actually pushed it quite this far with a spindle turning before.


When I tried to mount the form between centres that little bolt that keeps the wrench on got in the way.  After some trial and error I found that I could remove it, as long as I kept track of my wrench. With the bolt and the wrench off there was just enough clearance over the tool rest mount to get the form between centres.  There was not enough room, however, to get the tool rest into position and have the washer clamp down on the holder.  Vise grips to the rescue.


Once I had knocked the corners off, and with the clamp bolt tightened down past the base, I was able to replace the wrench and bolt.  I was worried that the vise grips would not hold well, but they were actually more secure than the regular system which has a tendency to pivot under heavy load.

Here is a shot of the form rough turned:


And finished.


Now I can actually start the project.  It has to be done for the Feb. 16th meeting, which means I better get cracking.


Monday, 16 January 2012

Goldfish Bowl Lives!


The Goldfish Bowl, as I now call it, is done.  Isn't he cute?  Here's another shot.


The tail and fins have been carved to add a little detail.  This was done before they were attached to the body.  I had thought of using a rotary tool to sand out the low spots but I had visions of the tool taking off and running wild across parts I didn't want sanded.  I decided to remove most of the material with a carving gouge.  This was faster and gave me a better feeling of control.  The surface the gouge left behind had a rough texture to it and I liked that detail as well.


The tail fin is glued into a slot in the stub that I left at the back end of the bowl.  To attach the fins I marked their locations and then drilled a 1/8th hole through the bowl.  Holding the fin in place against the body I marked the location of the hole with a pencil from the inside.  I then drilled a matching hole in the fin(a little smaller) for a screw.  I didn't like the idea of using screws but I wasn't confident in the fit between the bowl and the fins and I just didn' think they would stay on any other way.  If you look in the mouth you can see head of the screw.


I used Rustoleum Painter's Touch high gloss latex for all the paint.  The first coat on the exterior is 4 parts Sun Yellow and 1 part Apple Red.  After that dried I would paint a small part orange and, while it was still wet, paint the outline of the fin in yellow and mix the orange and yellow to fill it in.  The last bit around the mouth has a few yellow streaks to give it a finer texture.  I finished the painting on Sunday and found that I didn't have any glue to attach the eyes.  I had to wait until Monday after work and I could hardly wait to put them on. 

Over all, this was a fun project.  The patch job I did on the hole was something new and while it would never be good enough for high end woodworking at least it salvaged this bowl.  Carving and painting are both things that are outside my comfort zone and I clearly have more to learn about hollow turning as well.  I guess the best way to judge a project is: would I do it again?  Well... I have this idea to add some texture to the scales...

Monday, 9 January 2012

Fin Bowls

In order to make this fishbowl as much of a turning as possible I decided to make the fins and tail by turning as well.  Here is a picture of the tail 'bowl' made from poplar.


It doesn't look like much of a tail at this point but a visit to the bandsaw and you can see where I'm going.


The dorsal fin was done in a similar fashion, just a little smaller and not really a bowl at all.


The fins for the sides were bothe made from the same bowl, the only real bowl of the three.


Thursday, 22 December 2011

Inspiration, Disaster, and Recovery

I was shutting down my lathe the other night when I took a casual glance at the bowl that I was working on.  It's an egg shaped thing with a bit of natural edge at the top, and the way it came to rest the length of the oval opening was horizontal.  "It looks like a fish mouth" I thought.  "I could put some googly eyes on it, some fins, and it would look just like a fish ... fish bowl!"  As soon as I thought it I knew I would have to make it.  And I was mad. 

Although I am not a 'serious' woodworker, there is still a big part of me that wants to be taken seriously.  Making silly fish bowls is not the way to do it.  Was I just being pretentious?  I had put a lot of work into my 'serious' bowl and was close to being finished.  I decided to sleep on it and see what my inner voice would whisper.  What I didn't know was that I had already placed myself on the path and soon I would be unable to turn back.  Boy, that sounds ominous.

My first mistake, which I had made minutes befor that casual glance, was to turn the sidewall a little too thin about half way down the bowl.  I then compounded the error by leaving a step on the inside wall of the bowl rather than gradually increasing the thickness back to the width I wanted.

After sleeping on it I was still undecided on which way I wanted to go with the bowl.  I did know, though, that I wanted to get rid of that step in the side wall.  So that's what I proceeded to do.  After a minute or so the shavings built up so I stopped to clear them and check my progress.  This is what I found.


Disaster!  The bowl had changed shape slightly overnight as it lost moisture.At first, I tried to treat it as a 'design opportunity' but  there was no way I could make it work.  My 'serious' bowl was done.

Maybe though, if I could repair it to be smooth enough, I could paint it.  Fish bowl was on, pending a successful repair effort.  The question was, how?  The wall was paper thin at one end and less than 1/16th at the other.  I decided to build it up in layers.  The layers would have to be even thinner than the walls of the bowl.  My solution was to use shavings from a chunk of birch that I had in the shop.

Here is a shot after the first layer:


And the last.


After sanding it was still pretty rough, so I made a paste of sawdust and glue and covered it with that.


I let it dry overnight and I was pleasantly surprised at how strong it turned out to be.  I sanded it again and used a little wood filler to finally get a surface smooth enough for paint.

Sunday, 27 November 2011

Lesson Relearned

In my very first turning class I learned three things that have stuck with me ever since:
1: Rub the bevel agaunst the bowl, then slide the tool down the rest while lifting the handle until the tool just starts shaving the wood.
2: Pay attention to where the bevel is pointed, because that is the direction your cut will go.
3: Always cut from the larger diameter to the smaller diameter so the wood fibres are supported by the ones below for a cleaner cut.

The first two were eye opening at the time, but now make total sense.  They are comfirmed with every bowl that I turn and feel very natural.

But I still struggle with the last one.

It just seems to be wrong to me. I think that if you were to cut from the small diameter to the larger one, the fibres higher up stick out further than the one being cut so that the ones being cut are completely supported.  When cutting from a larger diameter to a smaller one, the fibres being cut are always overhanging the the ones further down and hence are not fully suported.  So why am I wrong?

I know that I am because of a little experiment I tried on the inside of the bowl I am working on now.  I was rough hollowing the inside and I was working both from the outside in and from the inside out.  Here is what it looked like when I went from the outside in:


This is what it looked like when I worked from the inside out:


So why the big difference?  Both cuts were made with the same tool in the same wood taking the same depth of cut.  The surface here is fairly flat.  I still just don't get it.

You can't argue with the results though.  I have tried to make some changes to the way I work on bowls to accomodate this, like turning the outside of the bowl between centres with the bottom facing the tailstock and then turning the bowl around and chucking it to do the inside.  Being right handed it is easier to work toward the tailstock because there is more room.  I just don't like taking the bowl off the lathe because it never seems to go back on to the exactly the same centre.  Maybe I just need more practise.  You know, more time in the shop

Sunday, 20 November 2011

A COUPLE OF PLANES TO START


This is the first plane I made.  I made it about three years ago following the instructions in the book "Making & Mastering Wood Planes" by David Finck.  If you are thinking about making a wooden plane, this is the book to have.  The instructions are so detailed it is hard to go wrong (I still did, but not before it was too late).  This style of plane is attributed to the late James Krenov, so I refer to thisplane as "the Krenov."


The main body is acacia and the wedge and cross pin are made from walnut.  The body is 10-1/2" long by 2-1/2" wide.  The blade and cap iron, which were made by Hock Tools, are 1-1/2" wide,  which makes this kind of an odd sized plane.  I chose the wood because the blank was about the right length, had a consistent slope to the grain, and felt heavier than other woods in the shop.  I chose the blade to fit the blank based on the instructions in the book.  The walnut became the wedge because I had a piece that was the same width as the blade and was already wedge shaped.

I am absurdly proud of this plane.  The throat opening is less than .004" and I have measured shavings as thin as .0015".  It is comfortable to hold.  It looks good.  It can plane curly maple without tearout.  It's my first one.  All the credit belongs to the book and it's author.

If I do have any complaint about this plane it is that the narrow throat makes it purely a smoother and not so good for general purpose work.  Hence my second plane, the Primus.


Although this plane looks almost nothing like the Krenov it does have the same basic structure.  The only real changes are the addition of the front horn and the rear tote.  The body is 9" long by 3" wide with a 2-1/8" wide blade.  The throat opening is .010" which makes this plane better for rougher work.  The sole is pau ferro, the body is mahogany, the wedge is ash and the cross pin is 1/4" brass rod.

I made this plane during a class I took from Lee Valley.  When I signed up for the class I thought it would be about Krenov planes but we came out with this instead.  The class took place over a Friday evening and a Saturday so this plane came together pretty quickly.  We worked exclusively with power tools, inclding the tablesaw, bandsaw, planer, jointer, belt sander, drill press and lathe.  Cutting the front horn on the bandsaw was an adventure and no two were alike, or even close.  The horn on mine is probably a good inch and a half longer than it needs to be, but I couldn't bring myself to cut it.  Freud would probably have something to say about that.


Although this plane is not as refined as the Krenov it works quite well.  It is not nearly as comfortable to hold though.  The front horn is curved to fit my left hand but the top edge digs into the heel of my palm.  My right hand feels both corners of the body when I am pushing the plane.  At some point in the future I will revisit this plane and round over some corners to make it more comfortable to use.

Building both of these planes showed me the versatility of this form.  I can see a razee style plane with a closed tote in my future, maybe a jack.  I have a couple of other projects that I want to do before that, though.