
Is the blade.
A couple of years ago my Dad gave me a bag of wooden odds & ends that came from a friend of his. One of the pieces of wood in the bag was this one.
.jpg)
It felt heavy for its size and my first thought was "This would be great for making a small plane."
Further back in the mists of time my wife had come home from an auction with a box of turning tools. Among them was this skew chisel.

The blade was about an inch wide, just right for a plane this size. More importantly though it was tapered, just like some of the old plane irons used to be. In a wedged plane this would help to keep the blade from backing out in heavy use.
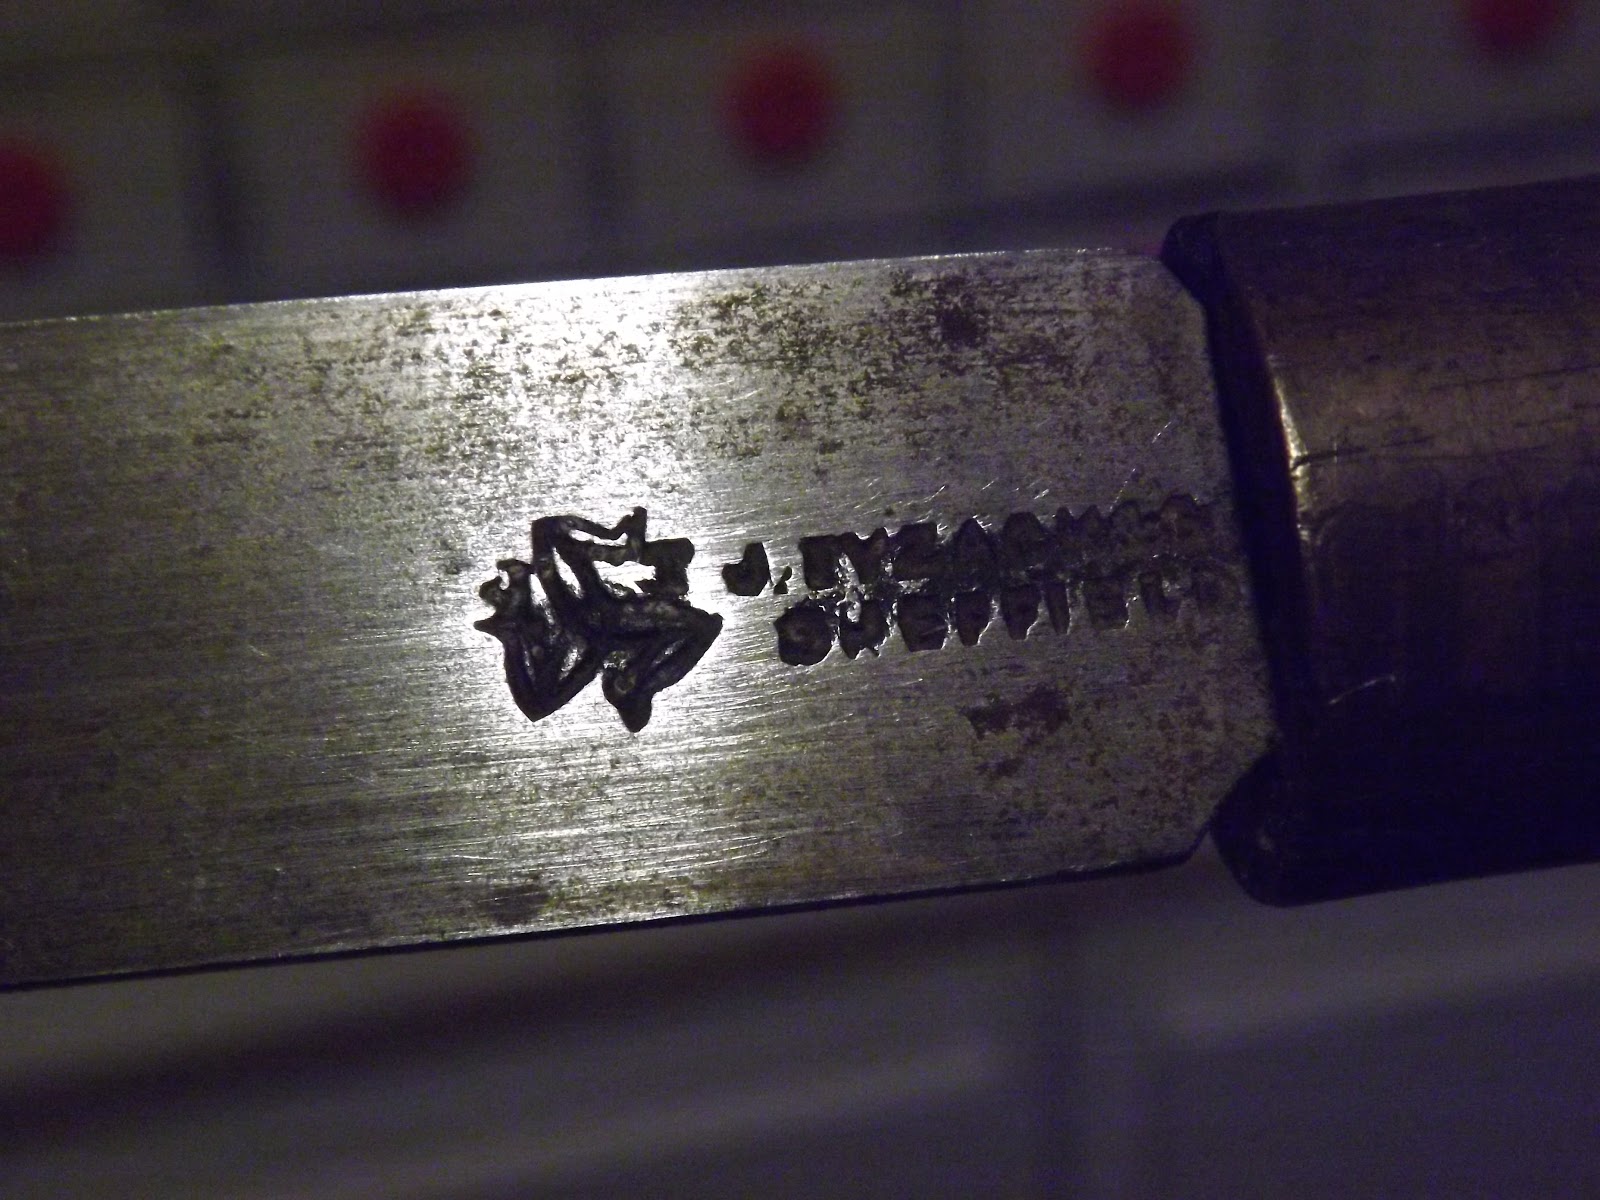
Another plus was that it appeared to have been made with the legendary Sheffield steel. I did a search on the maker, J. Tyzack & Son, and found the history of the company. You can read about it here. Unfortunately, the trademark was at the thicker end of the blade which meant that I could not use it on the plane blade.
I decided that I would take the time to cut the blade to the length I needed by hand. The reason was that I did not want to heat the blade up by grinding and ruin the temper of the steel. I went out and got some good hacksaw blades special for the purpose. I removed the blade from the handle, clamped it up, and set to work on the edge of the blade.
You have probably already guessed from the photo at the top of this post that that didn't go very well.
Ten minutes of vigorous sawing did little more than scratch the patina on this steel. I got out my multi-tool with the cut-off wheel and started to cut off the end of the blade. I worked slowly, pausing frequently, making sure that the steel never got too hot to touch. The fact that the temperature in my shop is usually below freezing at this time of year helped. It took me a couple of evenings work to get through the blade, and then a couple more to cut it from the main body.

When this photo was taken, that little bit of steel that was still holding was about the same thickness as the cardboard in a cereal box. Still, I could not bend it. This steel is hard.

During the times I was waiting for the blade to cool I would work away at the body of the plane.

After cutting the centre block apart on the band saw I used a float to do the initial leveling on the ramp. I find that by taking down the high spots this way it makes it easier to set the plane to finish it. this ramp was so small that even my block plane was too big to do the job. I wound up using a detail plane to flatten it.
Once the blade was cut to length I spent a week grinding the bevel, and another day flattening the back and giving it an edge. While that was going on I went back to that bag of odds & ends and came up with this piece for the wedge.

I don't know what it is, but it looks wild. It also has a very strong scent when it is worked. Someone told me it smelled like marijuana, but I wouldn't know anything about that. Anyway, I made the wedge and shaped the body and finally installed the blade.

Although the plane worked well there were a couple of problems. This is essentially a one-handed plane, and when I used it that way the top of the blade dug into the palm of my hand. Another problem was that it was tough to adjust the blade side to side without hitting the wedge.

I cut about 1/8" off the top end of the blade and dished the sides of the wedge and also shortened the wedge to match the blade.

Here are some shots of the completed plane.


This will be a great little plane. Smaller and lighter than a block plane, it will excel at chamfering and touch up work. One day I will get the trademark engraved on the blade as well. I think it is important to acknowledge where this steel came from, and to leave my own mark on this tool.
No comments:
Post a Comment