Showing posts with label turning. Show all posts

Saturday, 11 November 2017

Speaking of Things That Don't Quite Work...


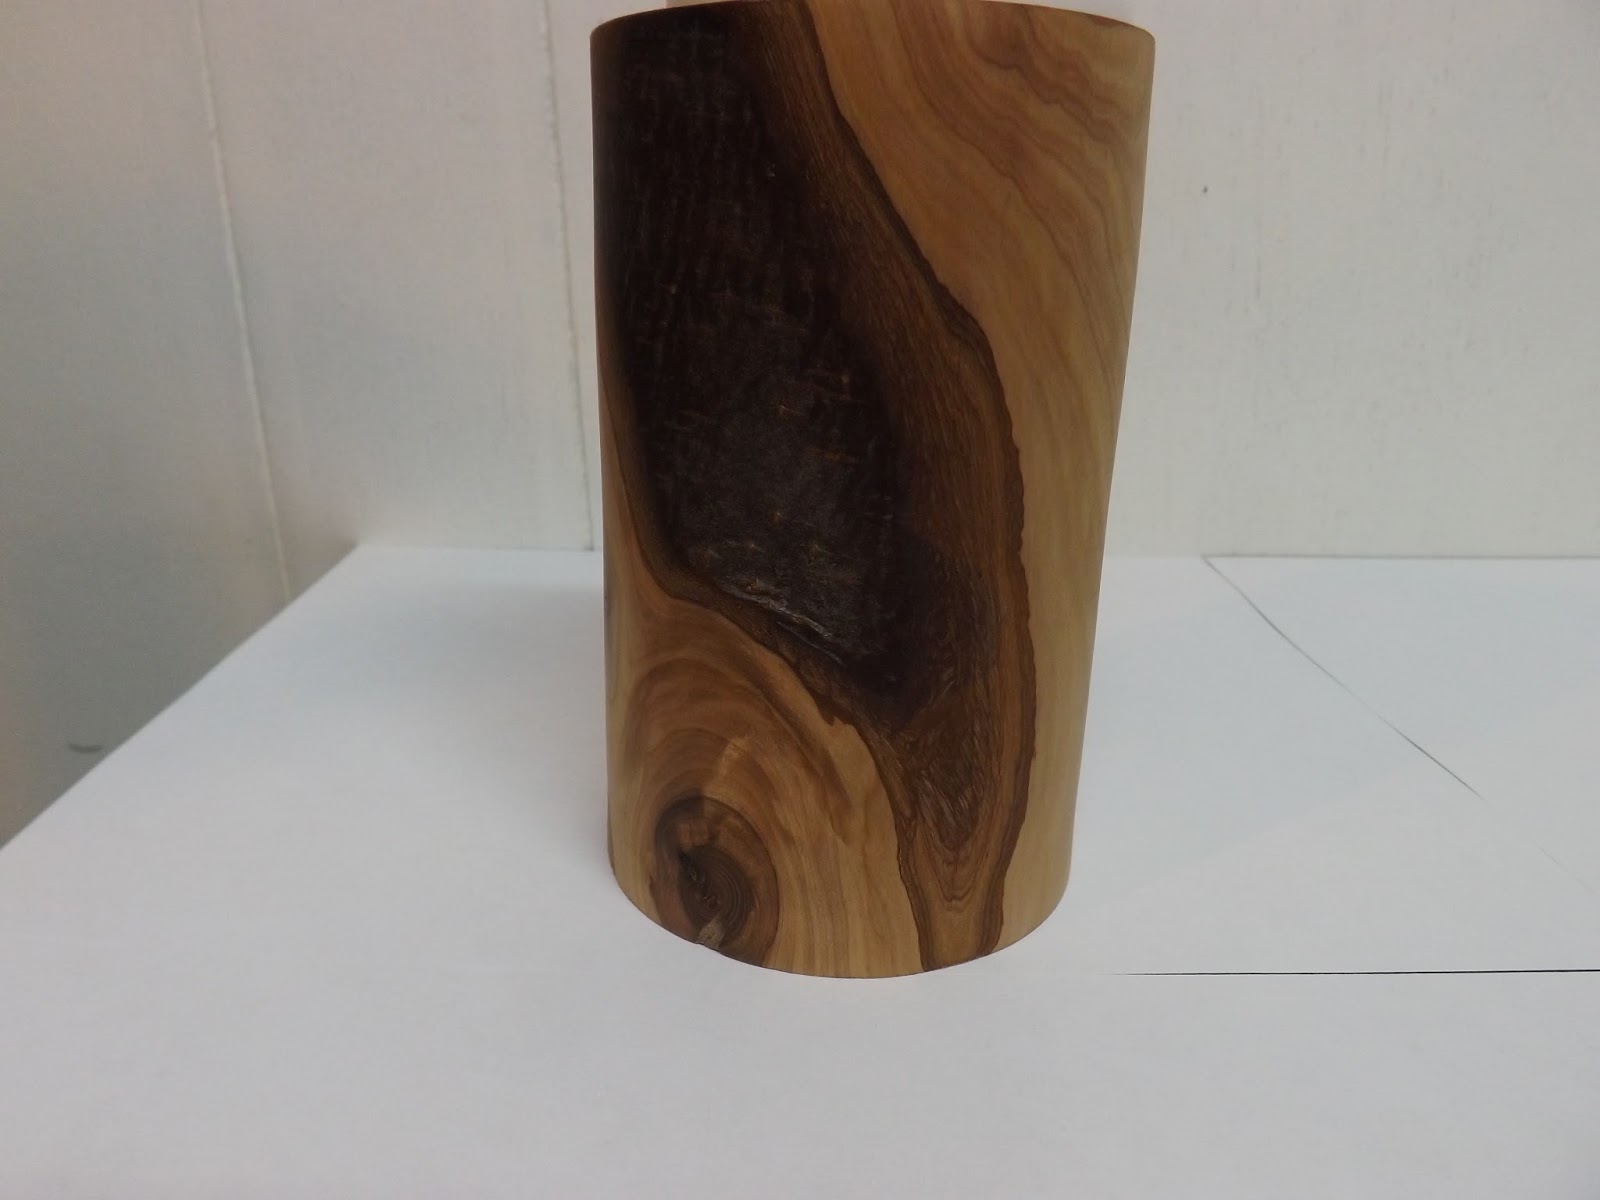
This is another item that could be called an incomplete success.  One morning I found a robin's egg sitting on the sidewalk outside our house.  I don't know how it got there, but it was just sitting there, unbroken, on the concrete.  I had recently seen a video by Nick Zammetti and his attempt to encase a dandelion in resin.  I thought that I might have better luck with with the egg.

The first thing to do was to find a suitably gnarly piece of burl that had lost its bark to put the egg on.  After a little archaeological dig through my wood pile (I got as far down as 2006) I found a piece that would work and would make a nice little turned box.  The only problem was that it was in the middle of a larger chunk of wood.


I liberated a small sort of cylindrical section using my bow saw.


To keep the resin from soaking into the top of the wood I gave it a coat of sanding sealer and then made a mold using Gorilla Tape.  Is there anything that stuff can't do?

I glued the egg down with CA glue because I was afraid that it would float away when I poured in the resin.  Once the resin was poured I just had to wait a couple of days for it to harden.


When I came back to it though... disaster!  I don't know if there was a hairline crack in the egg that I didn't see or if the resin shrank as it cured or didn't harden evenly or what.  All I know is that when I came back to it I found this...


Bubbles everywhere!  It was a disappointment, to say the least.  I decided to press on though, and call it another practice run.  It really was too nice a piece of burl to give up on completely.


The actual turning of the box was a pretty standard affair so I won't go into too many details about that.  There are lots of videos on YouTube that can explain it better than I can, including the one I mentioned above.  There are a couple of things I would like to mention, though.

The first is this handy little flashlight from Chestnut Tools.


It's perfect for an application like this, where your head gets in the way of the light and prevents you from seeing into the depths of a turning.

The second was my method of sanding the acrylic resin.  I didn't want to use any liquid polish on it because I was afraid it would soak into the wood.  Instead I worked my way through the grits by sanding with the lathe running first until I had a consistent scratch pattern.  Then I would work along the radius with the same grit until the first set of scratches was gone.


When I changed to the next grit it was easy to tell when I had sanded enough because the radial scratches would be gone.  I found that if I spend enough time on the first grit the rest of them go fairly quickly.  When I was done I would up with this.


Another thing I discovered is that when you have a curved surface on the resin it acts like a lens and distorts the light passing through it, making it hard to get a good view of what is inside.

I finished the wood with three coats of General Water-Based Turner's Finish.  I thought it did a nice job of bringing out the figure in the wood without adding much color to it.


Monday, 10 October 2016

My Wife Was Going To Throw This Out

This post is out of order, there are two other projects that should be ahead of it, but this is a quick one and I'm super happy with the results so I'm pushing it ahead.


A friend had mentioned turning denim soaked in resin so one day when I was at my wife's store I asked her if she had any fabric scraps she wanted to get rid of.  She pointed to a bag beside the garbage can and said "knock yourself out."  I picked through the bag and grabbed all the shades of blue that I could find, along with some neon green for accent.


I mixed up some Alumilite Clear Cast and started dipping fabric.  Did I mention it's a good idea to cut the fabric into strips first?  Do that first.  A little too narrow is better than too wide, and too short is better than too long.  You need to be wearing disposable latex gloves for this, because you are getting your fingers right into the resin and saturating the fabric.  Unless you want your camera buttons to have a permanent candy coating, you don't take pictures either.


Once I was done and had peeled the gloves off this is what I had.


24 hours later it came out of the mold looking like this.  Not terribly promising, but...


Once it was turned it came out like this.  There are a few small bubbles but overall I was really happy with it.


It turned more like wood than plastic.  The shavings were more likely to break up rather than form strings like pure plastic usually does.  If you look closely you can even see the weave of the fabric.


It takes a while to do this, about an hour or more to prepare the blank, but the results are worth it.  I have already molded another one.

Monday, 15 February 2016

Some Stuff from the Holidays

When I took this picture the camera told me that the stormtrooper blinked.
I actually spent a fair amount of time at the lathe in December and I even have some things to show for it.  I suspect that most woodworkers have the same experience at least one December in their lives as they prepare gifts for friends and family.

I started the month by demonstrating turning at the Guild booth at the Sundog Arts & Entertainment Faire.  I  found myself with 5 hours of time to fill and I was determined to make the most of it.


The first thing I made was this little bowl from a leftover piece of Manitoba Maple.  It is finished with mineral oil and bees wax and measures just over 3 1/2 " across.


Next was this pen made from padauk and finished with Hutt Perfect Pen Polish.  After the pen I moved on to a small natural edge bowl.  I was almost done when there was a 'tick-BANG' and there were pieces all over the floor.  Fortunately there was no one watching at the time except for a couple of Guild members.  On to another pen.


This one was made from Alumilite casting resin, the 5 minute stuff, mixed with yellow dye and swirled with black.

With time winding down I moved on to what I thought was going to be a lidded box,  As I was roughing it out I stopped the piece of mountain ash I was turning to check my progress.


What I saw was this cool swirl of bark and the grain around it.  I was so taken with it that I decided to leave it the way it was.


When I took it home I drilled some holes in the top and stuck some tea lights in them.


After that I turned my attention to making my wife some Christmas presents.  I wanted to do something to help her out with her sewing habit, so I ordered some seam ripper kits from William Wood-Write,

Single ripper, closed, in Alumalite

Double ripper, open, Kingwood

Ripper & stiletto, open, unknown burl
If you've never seen one of these things before, let me warn you that they are nasty little weapons that would never be allowed on an airplane.  If your wife is mad at you, do not make one of these as a suck up gift.  If she's not in a good mood when you hand it to her you are taking a risk.

On the safer side, I also made her this bracelet.


It is made from maple and Indonesian rosewood.  I should have taken pictures while I was doing it because this thing was a struggle from start to finish, and I could have made a long blog post on this alone.  One thing I will talk about though, is the first of the problems I encountered.  Of course, when I cut the segments, I didn't get the angle right.  Fortunately I made my angle a little too narrow instead of too wide, so when I went to glue the two halves together I had to sand the inside corners, not the outside, to make them fit.


If you look at the maple piece that is vertical at the front, it looks the same as the others, but the one opposite on the inside is quite a bit narrower.  The tricky part was to stop sanding at the right point.  I guess I lucked out.

My wife was happy with the bracelet and and the seam rippers, although she did have a little constructive criticism about the rippers.  I will definitely make use of her advice when I make some more.

Friday, 26 December 2014

Pre-Christmas Pen Turning Binge


Pen turning is the crack cocaine of woodworking.  You think you can just do one, but then one thing leads to another and that one gives you an idea and soon you have way more pens than you can give away.  And you just keep going until the staff at Lee Valley tell you  you're cut off because your wife has gotten to them.  Okay, that last part didn't really happen, not quite, but I am so sick of pens right now I probably won't turn any more until next year.  Of course, next year starts Jan. 1.

This year is the first time that I tried using Alumalite Pearlescent Powder in my acrylic pens to give them some sparkle.  You can really see it in this pen & pencil set.


There is lots of it in the black parts of the set as well, but it is hard to see because there is a little too much black dye in them as well.


Getting the right amount of dye proved to be a challenge in most of the acrylic pens I made.  I knew that it was powerful stuff, but it turned out to be easy to overdo it, as was the case in this pen.


It was supposed to be red and green, but the green is almost blue and the red a dark purple.  The next pen was more successful.


I wish I could have gotten a better picture but this one went in a Christmas gift exchange before I realized how bad the picture was.

I also attempted to use metallic powders to make an aluminum looking pen.  I mixed white dye with gunmetal powder to darken it and some silver powder to make it sparkle, but although it did make it grey I didn't get the sparkle that I was looking for.  The metallic powders are meant to be used as a surface treatment and don't have the same effect when mixed into the plastic.


And now, how about some pens featuring some actual wood.  This one is made from kingwood.


Cocobolo.


And last but not least padauk, finished with CA glue.


I tried using CA glue as a finish on the other wooden pens I made but I had difficulty getting an even sheen.  I wound up sanding them all down and using a wax finish instead.

If you noticed the date on this post you would have seen that as I write this it is after Christmas. Would you be surprised to learn that I got a book on pen turning from Santa?


Sunday, 20 April 2014

When to Push Your Limits


On March 22nd and 23rd I attended the 10th Annual Matisho Memorial Woodturning Cancer Benefit at Waldhiem.  This was my 4th trip there, and I enjoyed it as much as ever.  Because there are always a lot of very experienced turners there I see this event as a chance to bite off a little more than I normally chew.  There is a certain amount of comfort in knowing there is a lot of good help around if you get into trouble.

For my project this year I picked a piece of birch that I had picked up at a garage sale a few years ago.  It was about 4" thick and had been bandsawn into a blank about 10" in diameter.  I laid out a square on the top with a diagonal a little larger than the diameter of the circle.  This meant that the corners were rounded off, which would make them a little stronger.  I then sawed off the parts of the blank that fell outside the sides of the square.  I did all this before I went to Waldhiem and in my enthusiasm I forgot to take any pictures.

For the second year the event was being held at Menno Industries.  The people there were kind enough to donate their shop space and all-important lunch room to the cause.  Here is a shot of my set up.


This next shot may give you a better idea of what I was talking about up above.


Here you can see that the blank is a square with the corners chopped off.  The rough shaping of the bottom is done and I have left a tenon in the middle for the chuck to grab when I turn it around to work the top.


Now the top is shaped and sanded with 80 grit sandpaper, and the opening is defined.  In the picture below you get a good idea of the profile.


Time in the shop is usually time alone, but I think that people that come to this event enjoy the social aspect.  I know I do.  I think it is telling that, of the five turners in the picture, only two of them appear to be doing anything.


At this point I have hollowed it out enough to bring out the big gun, my Scorpion hollowing tool.  I was starting to lean a long way over the lathe , trying to look back along the tool to see what I was doing.  It got so bad that I went over to the other side of the lathe to see if it would be easier to turn from there.  It didn't work, but it did show me that the point of the cutter was getting to be a long way from the tool rest.  I switched to a scraper platform, stuck inside the mouth of the bowl, for additional support.


I continued working my way out to the edges and finally, toward the end of the day, I got to this point.


There are a couple of advantages to having holes in the side of a hollow bowl.  First, the bowl doesn't fill up with shavings anymore.  Second, you can stop leaning over the lathe and peering into the mouth of the bowl to see what you are doing.  You can stand up and see the point of the tool as it is cutting.


Thanks, Cal, For taking the picture.  I continued hollowing and this is where I wound up at the end of day one.


On day two I forgot to take my camera.  Don't worry, you didn't miss much.  I kept going until I was happy with the openings and the top and bottom were pretty close in thickness.  Then I sanded the corners of the openings until they all sort of matched.  This was necessary because I wasn't able to get the blank perfectly centred.  Like that ever happens.  Anyway, this is what it looked like when I got it home.


My next step was to get rid of the tenon on the bottom.  I used a chunk of scrap attached to a faceplate and turned a short stub that matched the diameter of the opening in the top.  Then I drilled out the centre and stuck a bolt through it from the back.


What's the bolt for you ask?  That's another advantage of  the open sides.  Once the bowl was on the stub I was able to put a thin piece of plywood over the bolt and snug it tight with a nut.  The wrench just fit inside the bowl.  This held the bowl in place so I could round off the bottom.


Once the bowl itself was done I started on the legs that support it.  While the bowl had stayed pretty much the same from the original concept to the finished product, the legs went through several changes in my head and on paper before I settled on the final shape.  Originally I was going to make them round in cross section, then changed that to curved sides with flats on the inside and the outside.  In both cases I was going to turn them on the lathe so they would be curved around the corners of the bowl.  There were a lot of technical challenges in doing it this way and, although I felt I had worked them all out in my head, I still wasn't 100% sold on either shape.  Eventually I settled on flat-sided legs to contrast with the curves of the bowl.  This meant that I could have different curvature on the inside and outside of the legs and when I drew it out that way I knew I had made the right choice.

I built a jig so that I could shape the inside and outside curves on my oscillating spindle sander.  Here I have done the inside curve.  To tie the legs visually to the bowl the radius of the curve is the  same as the outside of the bowl.


The radius of the outside curve is about half the length of the side of the bowl.


I feel that echoing the proportions of the bowl in the legs helps to give it an overall unity, even while the legs are in contrast to the bowl.  I know that it sounds pretty artsy-fartsy, but using that idea was a big help in figuring out how the legs would look, and in the end I think I got it right.


After sanding the curves I used a block plane to taper the legs from front to back.  This lightens the look of the legs, and makes the top and bottom of the leg look thicker than the middle.  It's cool the way the intersection of two simple forms, the curve and the flat surface, can produce such a complex looking shape.

With the bowl completed and the legs done all that was left was a way to hook them together.  I had decided early on that I was going to do this with dowels.  Drilling the holes straight required another jig to hold the bowl perpendicular as the holes were drilled.


My failure to get the blank perfectly centred reared its ugly head again at this point.  Getting one corner centerd  under the drill bit did not mean that any of the other corners would be centred side to side.  That is the reason for the two blocks clamped to the table in front of the jig.  They act as a reference to keep the drill bit lined up front to back as I slide it side to side.  I didn't have to move it very much.  You can't tell that the holes are not perfectly diagonal to each other, but you certainly would have noticed if they weren't centred on the corner.

I gave the bowl a couple of coats of Danish oil to darken the wood and give it a golden color.  The birch was too light to match the picture I had in my head.  The legs I painted with black semi-gloss acrylic.


The bowl went back out to the shop and was buffed with Hutt Perfect Pen Polish to give it a nice sheen.

The last design decision I made was the offset of the legs.  My original intent was to have them right up tight to the corners of the bowl but while I was sketching out the legs the idea of having them offset popped up.  When it came time to attach the legs I decided I liked it.  I feel it increases the sense of suspension.


This bowl was a challenge, both physically and mentally.  There were all kinds of places where it could have gone wrong, but in the end it turned out to be one of the most satisfying projects I have ever done.  It matches the vision I had in my head, and that's not easy to do.


Evil Alien Face

Feed Me!

I have decided to name this one 'Calling Occupants' after that old Klaatu song.  It has sort of a space ship-y kind of feel to it, and the open sides seem to invite you to fill it.